How to upload names to Action Network

Local group just getting started with Action Network? Before you can start emailing your list, you'll need to have some contacts first.

This is also the procedure you will follow if you want to upload signatures collected offline, or bulk-edit a large number of contacts (e.g. to add a tag).

Before you start, make sure you have permission from the contacts you want to upload to store their data and keep in touch by email. If you're in any doubt about this reach out for advice on #digital-data-helpdesk
  1. 1

    "Upload"

    From the "Start organizing" toolbar, click "uploads"


  2. 2

    Make sure you're uploading to the right list.

    Especially if you use Action Network for multiple groups or to manage your personal contacts, make sure you've got the right group & list selected in the upper right dropdown menu.
  3. 3

    Add a new upload

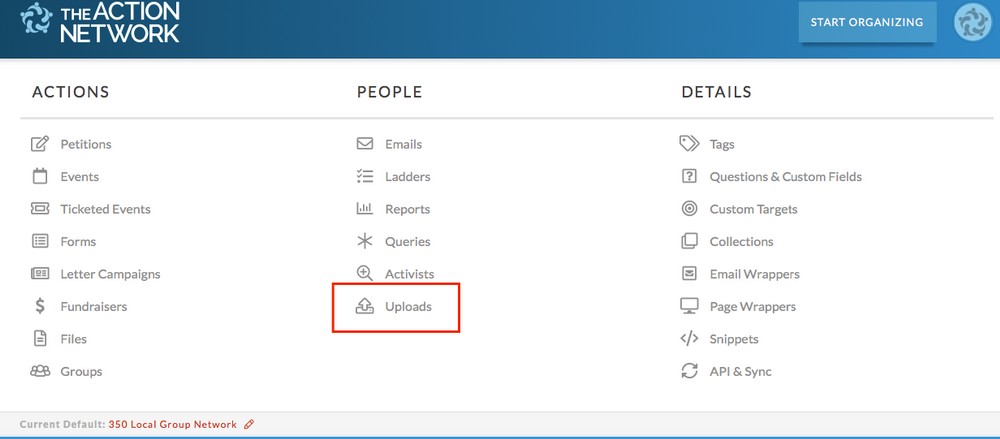
    Click the "add a new upload button." 

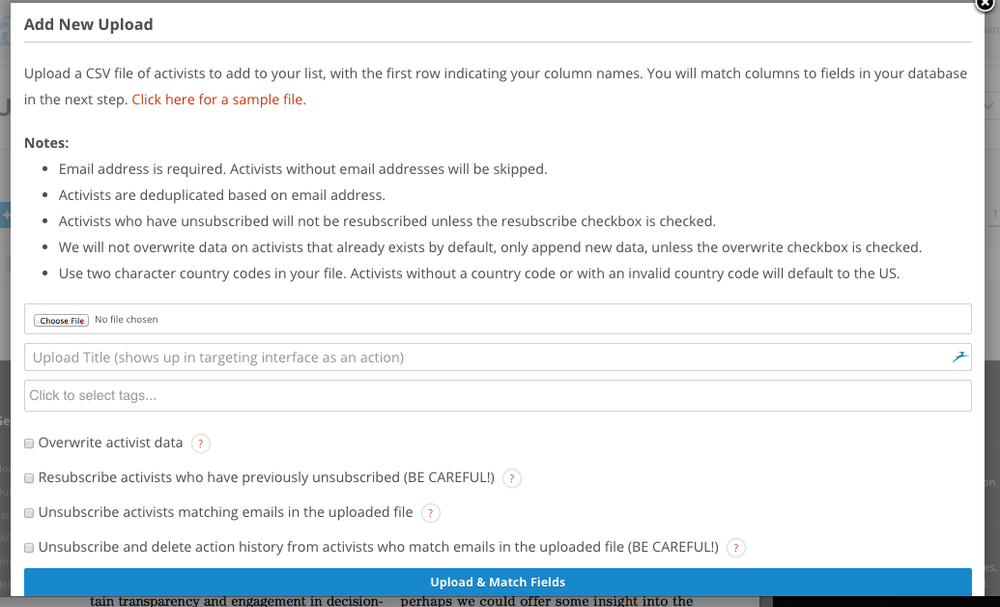
    A box will pop up with instructions and a place to upload your file. Your file must:
    • Be a .csv
    • Have a row of column names at the top indicating data types (e.g. email, first name, last name, city, zip code)
    • Have an email address for every record/row
    • For non-US contacts, you must include a country column with a two-letter country code indicated. Blank or unreadable country values will default to USA (sorry). 
    Select your file from your hard drive. Name your upload (e.g. "Mailing List Migration Import"), and add any tags you might want (e.g. "Donors").

    *Note: only check one of the boxes at the bottom ("overwrite activist data" etc) if you are VERY sure that's what you want to do.*

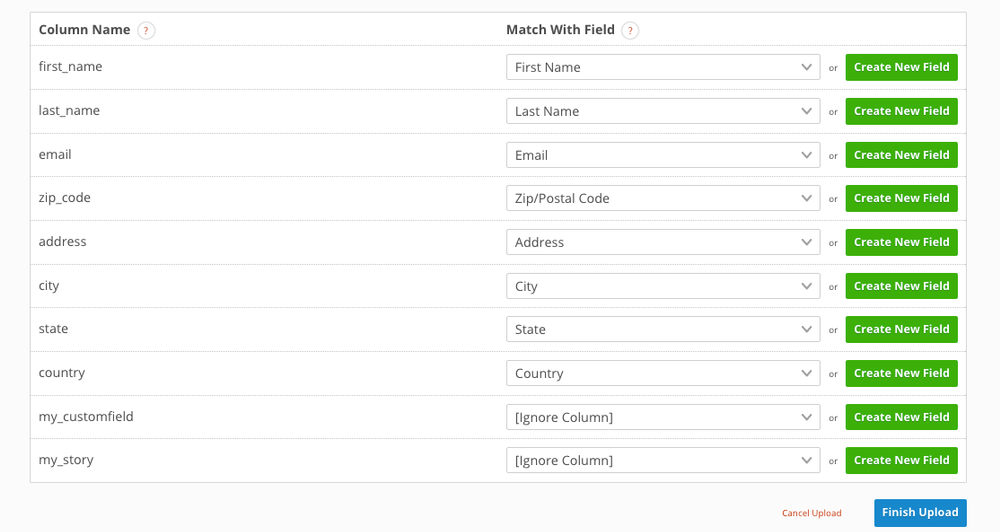
    Click "Upload & Match Fields."

    Note: You can also try all this with the sample .csv linked at the top of the dialogue box, if you want to practice.
  4. 4

    Match fields

    This is where you make sure the system is understanding the names you gave your columns. It generally gets things pretty right, but it's best to make sure (especially if you're uploading contacts from outside the US). If the system cannot match one of your column names with its field names, it will indicate that it plans to "ignore column".

    Click "Finish Upload" -- and you're done!
  5. 5

    Go ahead and start emailing people!

    It may take the system a few minutes to process your import. When it's done, your upload should appear on your uploads page (where you started), with the number of activists uploaded displayed. The system should also send you a confirmation email.

    NOTE: At this point, your contacts will be added to both your database and the umbrella 350.org database. If they are new to the 350.org database, they will be sent an automatic email welcoming them to the 350 network.